
The document editor is an essential part of the automated document workflows within DoxFlowy.
As such, it has many moving parts that you can use to create and edit your documents.
This guide will walk through the key elements of the document editor and how to use it to edit documents in DoxFlowy.
When you open the document editor, depending on how you’re choosing to create your document, you’ll see a blank page or the text of your uploaded document.
At the top of the screen, you’ll see an area that contains multiple options that can adjust the settings of the text within the document.
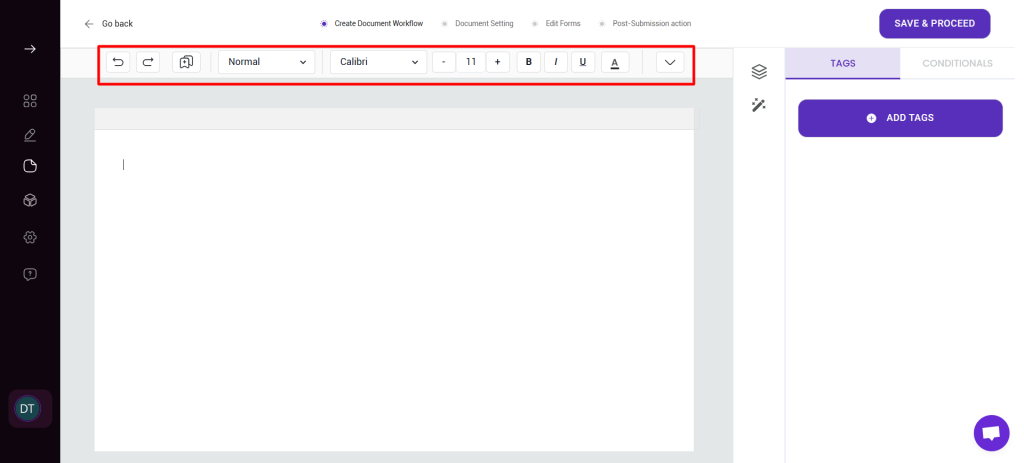
You have control over things like font style, font size, bold, italics, etc. At the right-hand side of the row, you’ll see a down arrow which, when clicked, shows more text editing options.
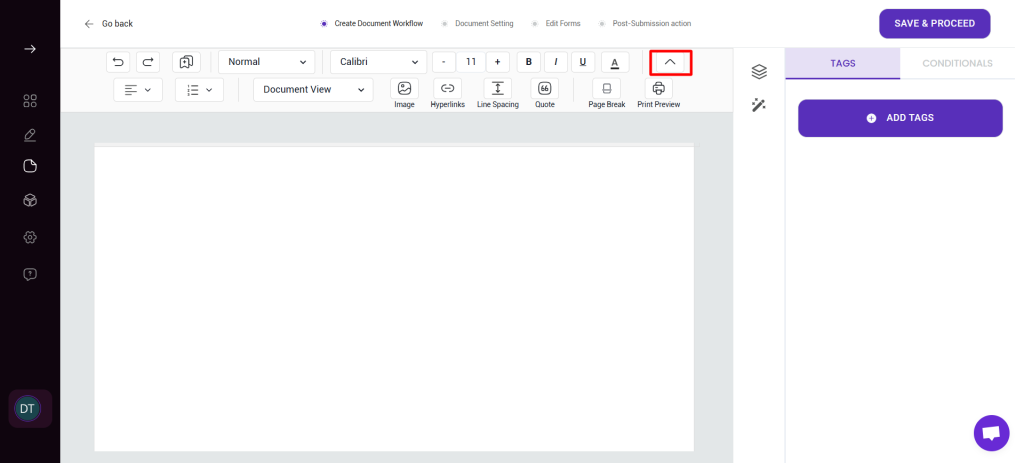
Here, you can do things such as adjust the text orientation, add bullet lists, insert images, etc. It’s more or less self-explanatory.
An area to note is the document view. This is where you change the view between the main document, the header, and the footer.
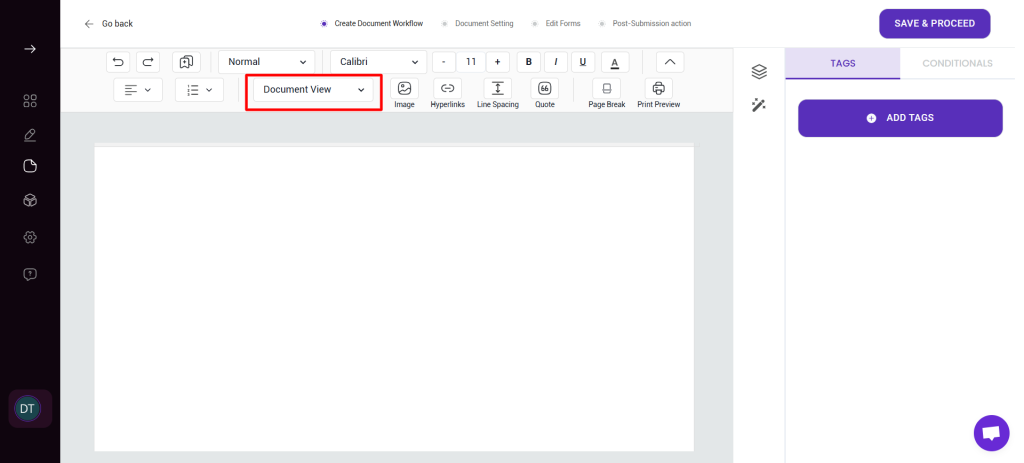
When you change the view, you can edit the text contained in those areas. For example, if you change to the header view, you can edit the header.
To the right of the editor, you’ll see two icons.
The top icon is the table of contents, and it tracks all of the tags you’ve added to the document. This is especially useful when you have a complex document that needs to be automated and you need to know which tags you’ve added.
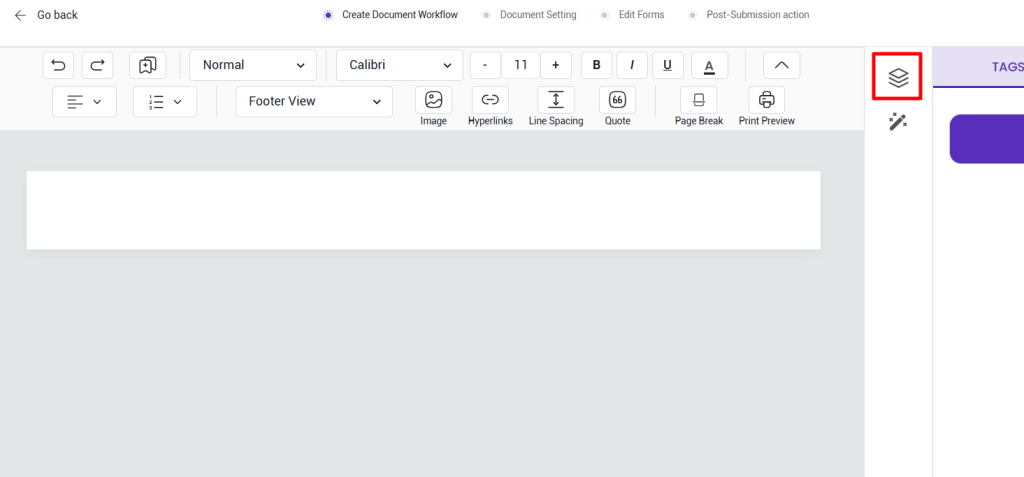
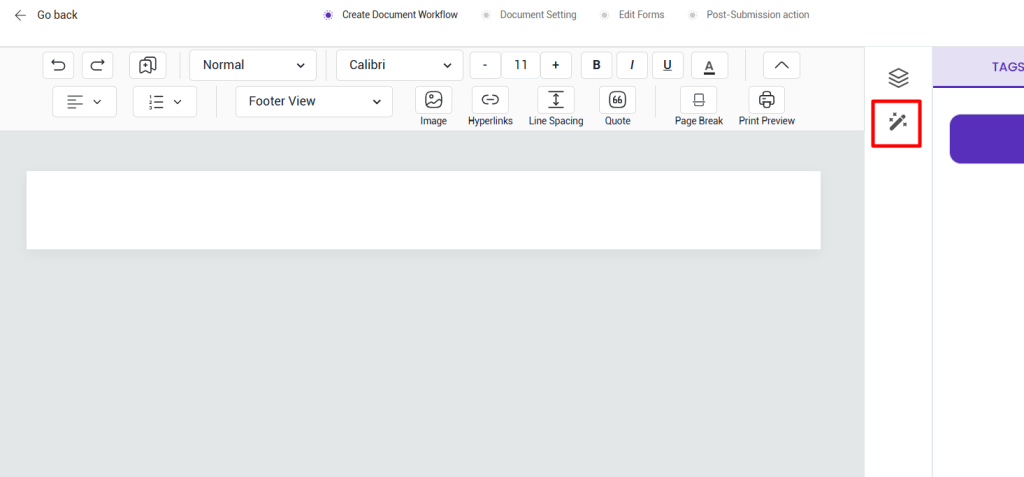
Below the table of contents icon, you have the option for AI drafting. Here, you can enter a prompt, and the AI engine will create content according to your instructions.
To the right of the table of contents and AI drafting options, you’ll see an area that says tags and conditionals.
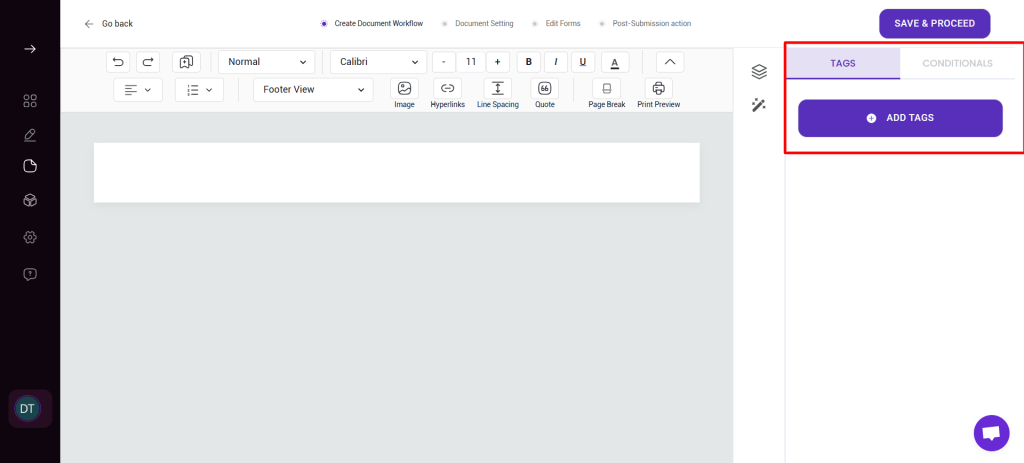
We discuss both of these options in detail in a different article, so we’ll just touch on them briefly here. (Conditional Logic Article and Tag Manager Article)
The tags tell what information should be inserted into the document based on the inputs provided. For example, if you have a tag for first name, when that information is collected, the first name is inserted into the document.
You can make custom tags or take advantage of the default tags we’ve provided.
Conditional logic allows you to trigger certain actions when specific events occur. They’re built using IF/THEN statements.
That’s a quick rundown of the document editor. Now, you should have a clear idea of where all the options are and you’ll be able to confidently edit documents within DoxFlowy.