
Within DoxFlowy, you determine who’s responsible for providing the information needed to automate a document by using roles.
Without roles, DoxFlowy would not know which tag is tied to which person associated with the document, and everything would get jumbled up.
Roles are specific to each document workflow and are not shared between workflows. Tags, on the other hand, are available throughout your account.
How to create roles #
When you’re working on a new document, the tag section in the right menu is empty. Even the default tags are not visible. That’s because you cannot add tags to a document without it being associated with a role.
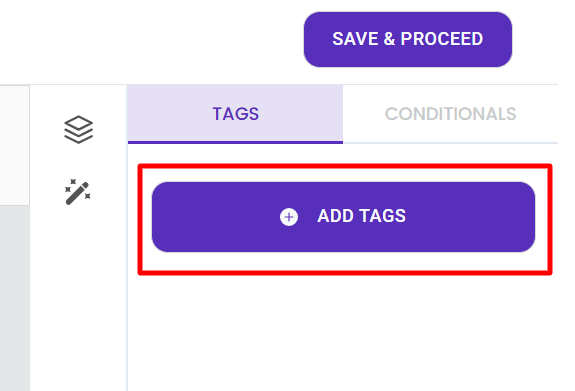
To create a role, you first click on the ‘add tags’ button.
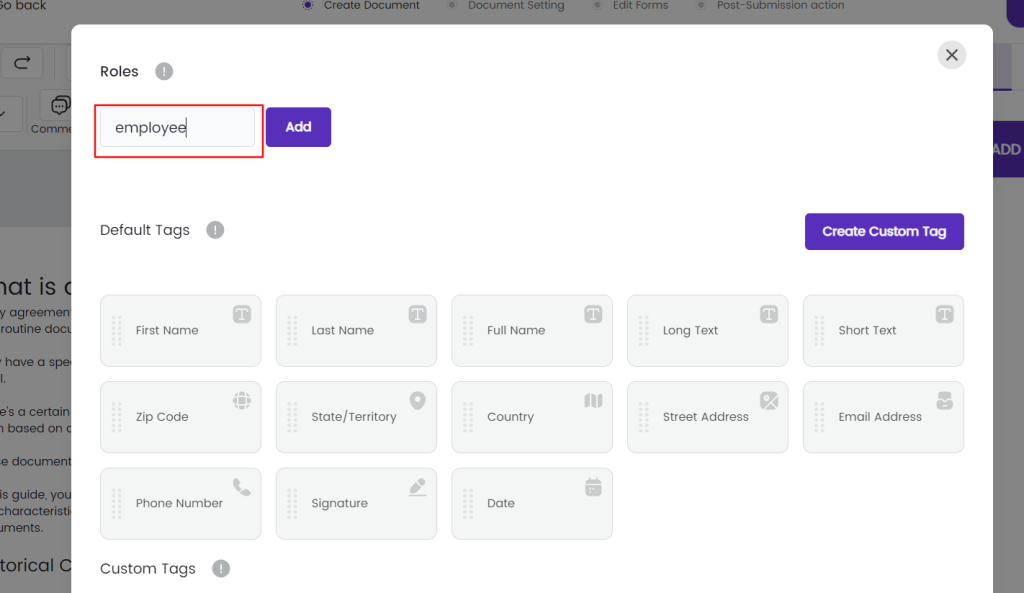
In the modal that opens, the first heading is Roles.
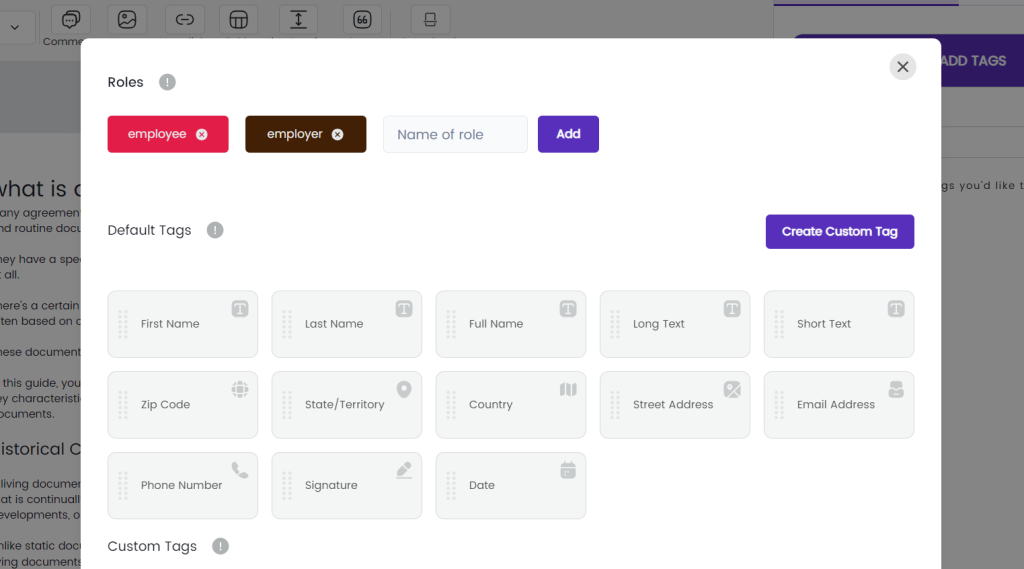
In the input box provided, enter the name of your first role and click add. Repeat the process for every role you want to add to the document workflow.
Each role will have a unique color associated with it, and when you’re adding tags to the document, the tags attached to the role will inherit the color of the role.
When you’re finished adding roles, close the modal. You’ll see that the area under the ‘add tags’ button has changed. You now have an area to select your roles, custom tags, and default tags.
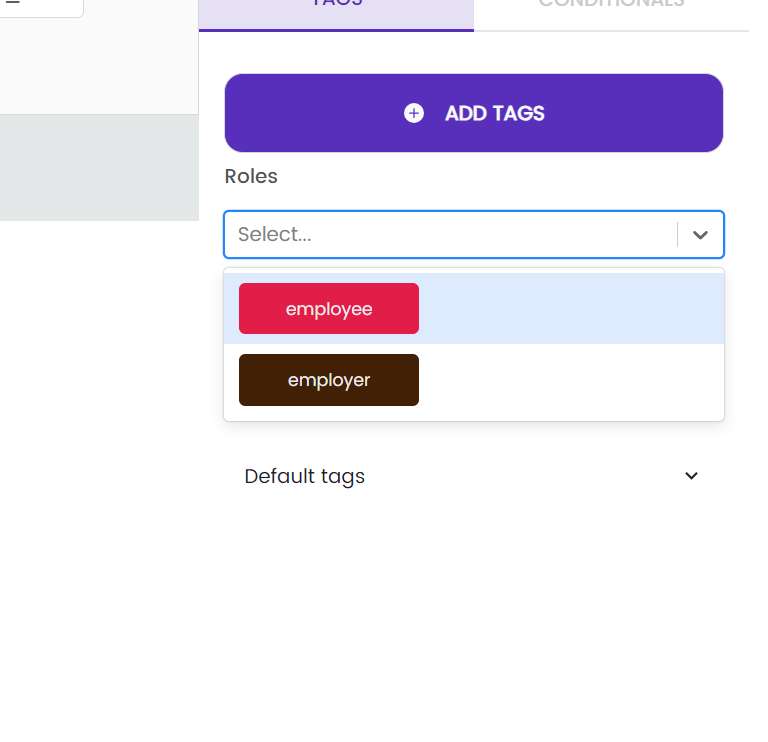
Select any of the roles from the list provided, and you’ll see that the tags have also changed to the same color. This will make it easy to ensure you’re not accidentally adding the wrong tag to your document.
