
How to use and manage tags in DoxFlowy #
The core of document automation within DoxFlowy is the tagging system. Tags are elements inserted into the document that show DoxFlowy how to update the document based on the information provided to it.
The information can come from various sources, such as third-party integrations and the questionnaire.
Without tags, there’s no way to properly automate a document.
As you can see, they’re essential.
This guide will walk you through how to use tags within DoxFlowy
How to create tags #
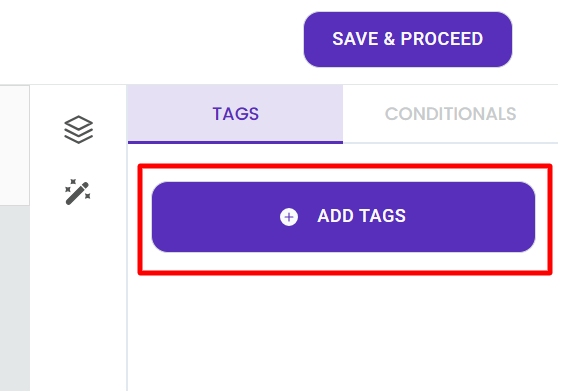
When you first open the document editor, you’ll see a purple button to the right that says ‘add tags’ with white space below it. All of the default tags and the tags you’ve previously created are supposed to show up here.
Before that can happen, you’ll need to add roles to your document. Roles are tied to tags and indicate who is supposed to provide specific information.
For example, if you have an employment agreement, the roles may be HR and employee. The HR’s tags will be different from the employee tags.
A different support article goes into more detail about roles (view it here).
Once your roles are added, you can then see all of the default tags provided within DoxFlowy, and you’ll also see any custom tags you’ve created in the past.
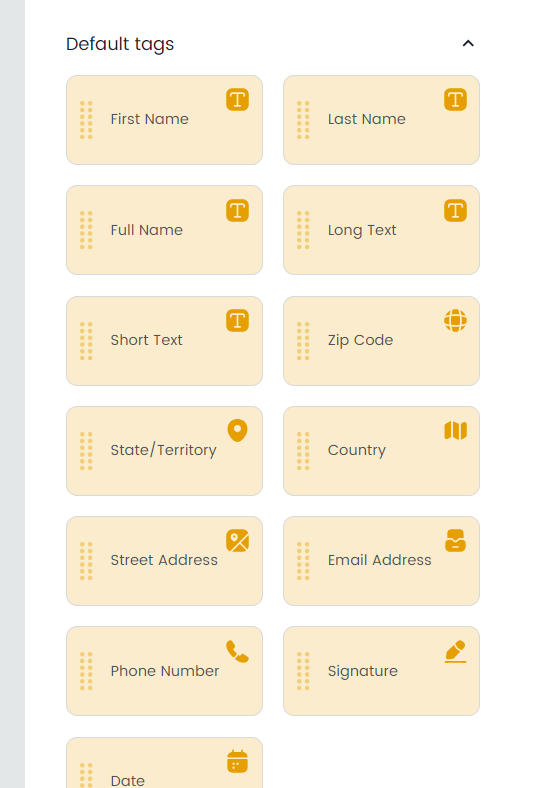
You can start using the default tags immediately, but you may need to create a few custom tags based on the nature of your document.
To create custom tags, click the purple add tags option in the document.
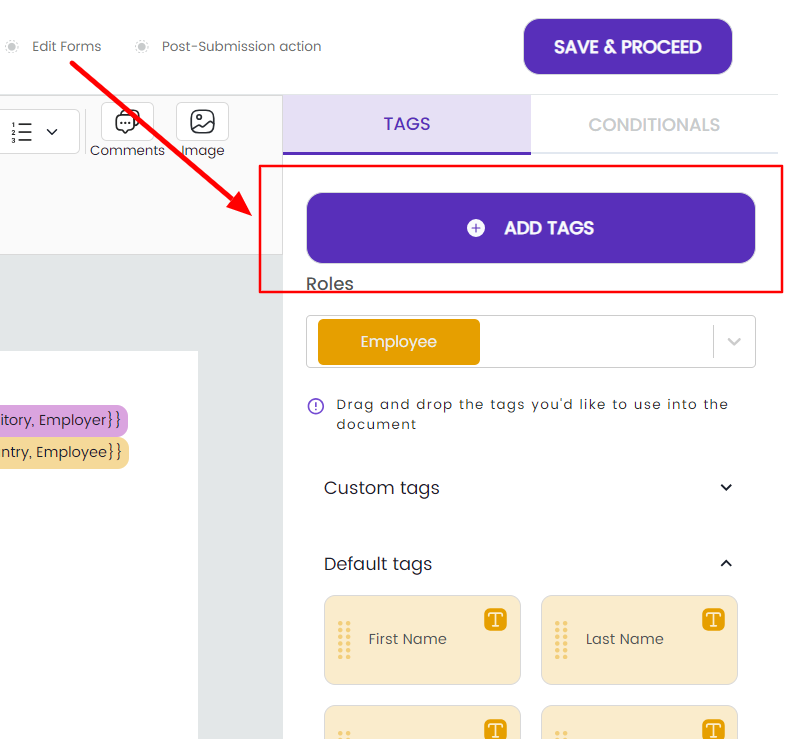
A modal will open. Within it, you’ll see all of your roles, default tags, and any custom tags that already exist.
Click the purple ‘create custom tags’ button.

It’ll open an input box where you can name the new tag and add a description. Name it something that you can easily remember, and keep in mind that these custom tags will be available in every document automation workflow.
Try to give it a name that makes sense across documents instead of naming it specifically to the document workflow you’re working on right now. You can also add a description, which will be visible in the tags manager (accessible through the main menu under documents).
When you’re done, save it.
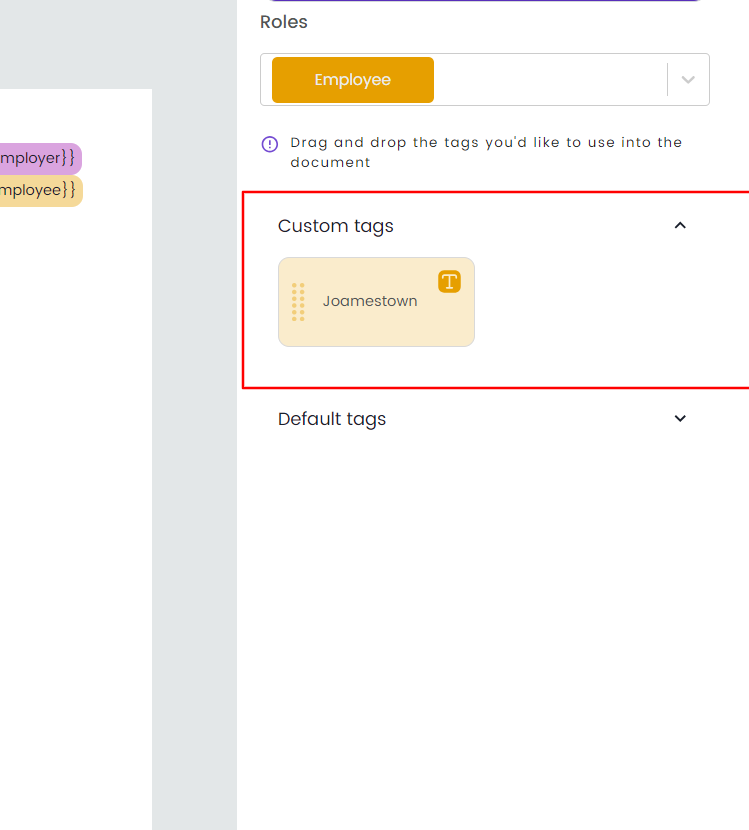
The newly created tag will be visible under custom tags in the document editor.
Go ahead and create all the custom tags you need so it’ll be faster when you’re adding your tags to your document.
How to use tags #
Using tags is a simple process.
The first thing is to select the role that should be responsible for the tag.
For example, in an employment agreement, there are at least two roles. The employer and the employee. Each should be responsible for providing certain information.
The employer would provide compensation information, while the employee would provide name, address, and other relevant information.
In this instance, you’d select the employer role, and add the tags to the document at the appropriate place.
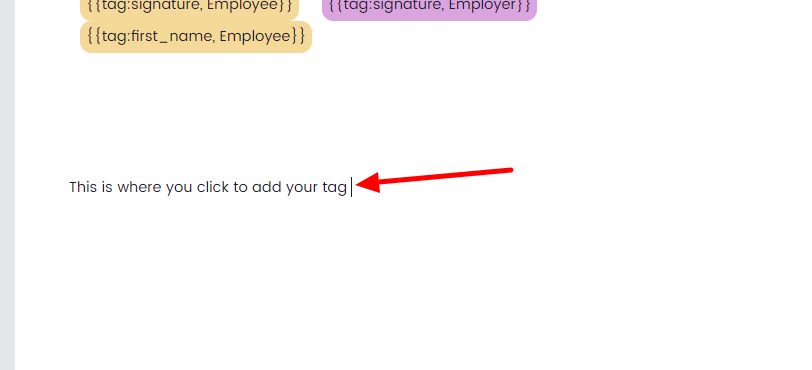
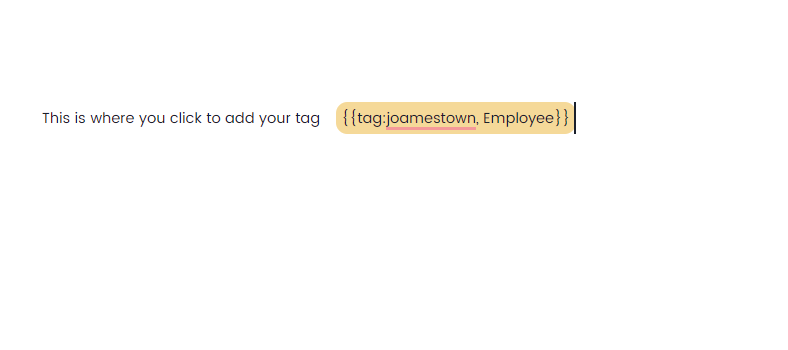
All you need to do is click the place in the document where you want the tag to be added, then click the tag that should be included.
After adding all the employer roles, you’ll repeat the process with the employee.
All of the tags are color-coded based on the role, so it’ll be easy to make sure you’re adding tags for the correct role.
Once you’ve finished adding tags, you can optionally start to add conditional logic. This article goes into detail about how conditional logic works.